安装overleaf的社区版
github 链接
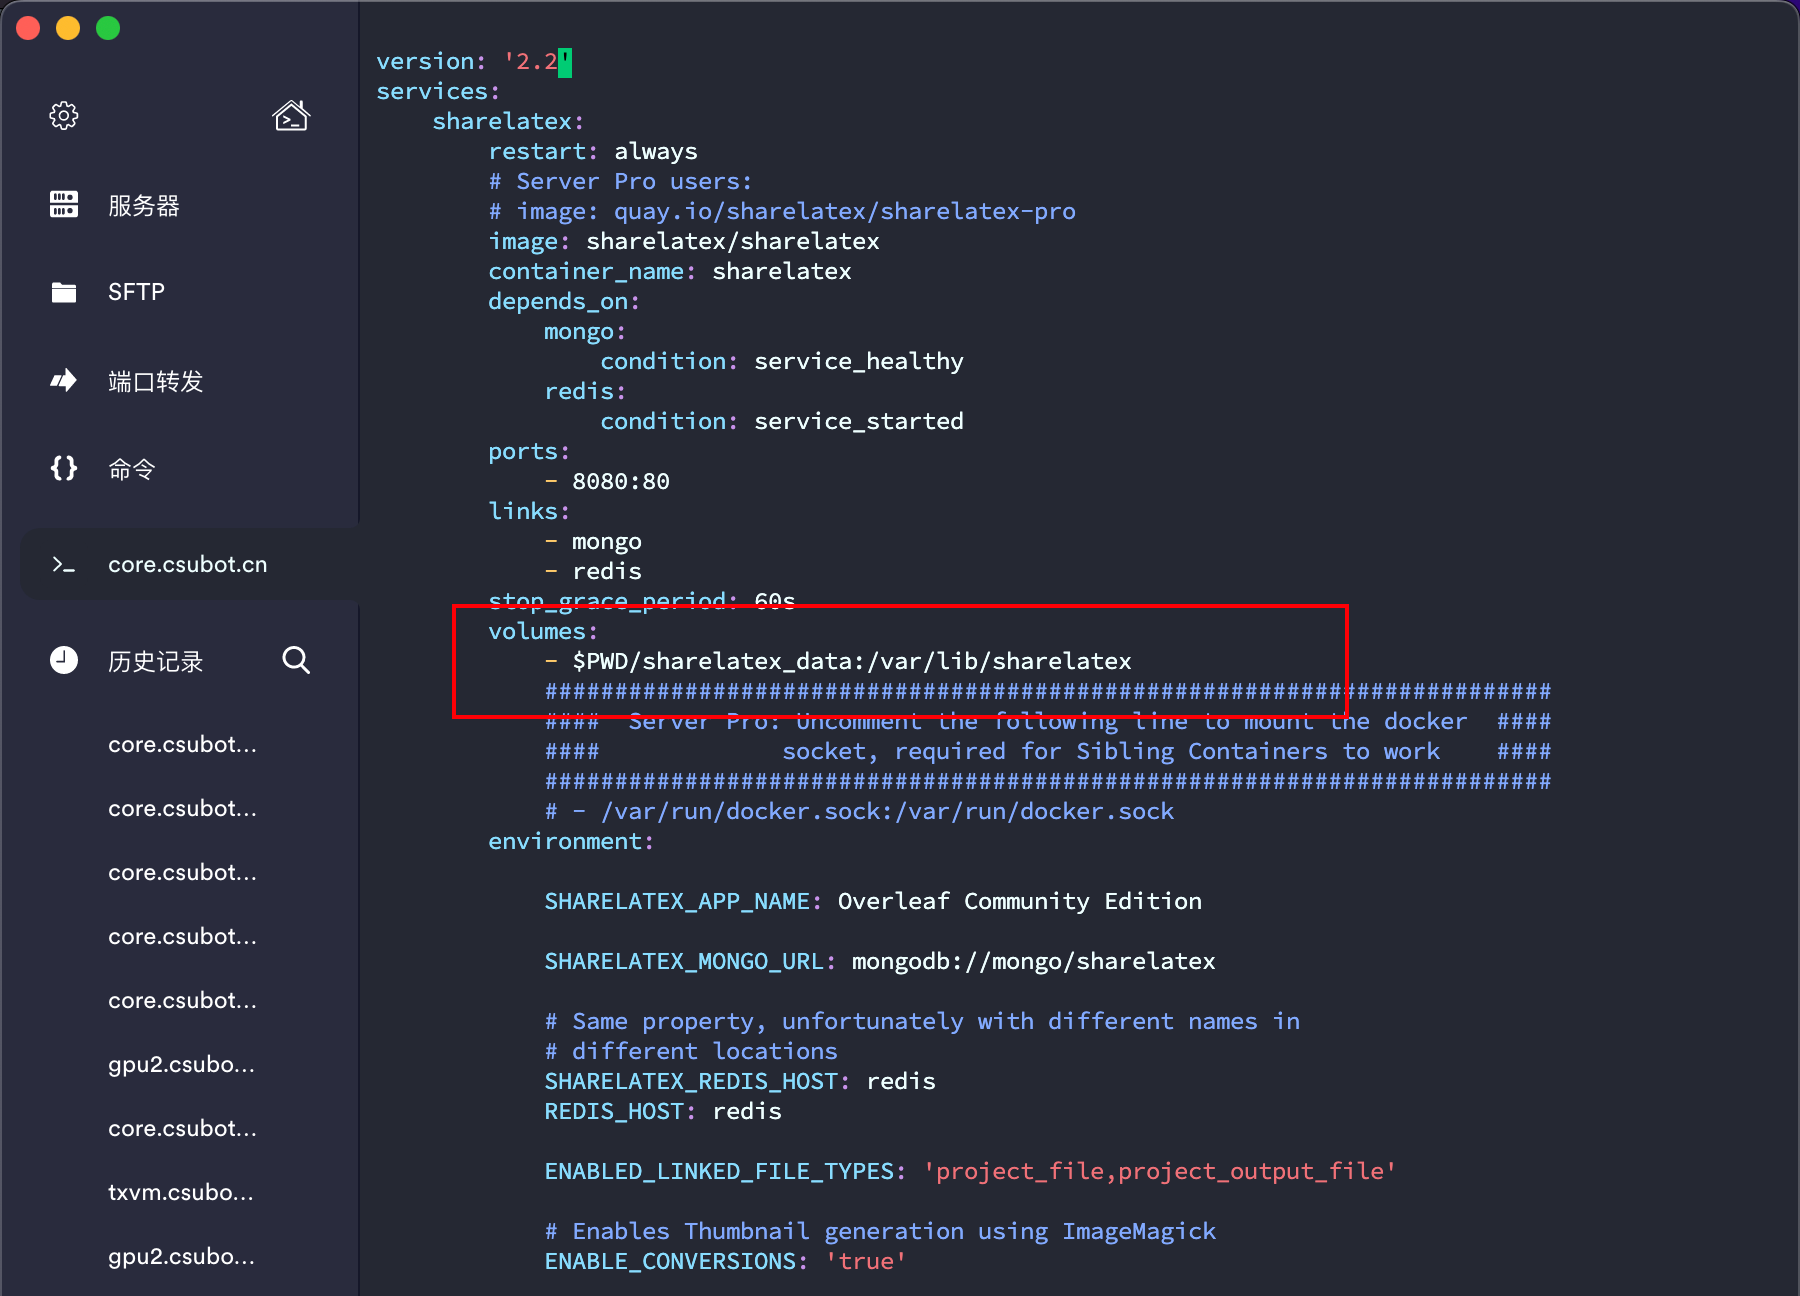
上面是github的链接,访问然后里面有个docker compose.yml文件。
集成了overleaf, Redis, MongoDB
一键部署。
我修改了一下数据的挂载,改成相对目录

1
|
docker-compose -f docker-compose.yml up
|
初始化管理员
Overleaf 实例运行后,访问该/launchpad页面以设置您的第一个管理员用户。
访问:
升级到完整版
安装的过程中,相关脚本会创建一个名为sharelatex的container,根据Overleaf Wiki上的说明,目前安装的Overleaf中的TexLive版本仅为精简版,因此我们需要先安装上完整版的TexLive。
参考 https://yxnchen.github.io/technique/Docker部署ShareLaTeX并简单配置中文环境/#安装并配置ShareLaTeX
注意,如果按照我的docker_demo中的做法,想要把/usr/local/texlive也挂载,那么要先不挂载运行,让容器自动产生缓存文件,更新完毕后,将容器内的文件拷贝出来。然后再启动挂载
 1
 2
 3
 4
 5
 6
 7
 8
 9
10
11
12
13
14
15
16
17
18
19
20
21
22
23
24
25
26
27
|
# 进入容器的命令行(sharelatex容器本质上是一个Ubuntu)
$ docker exec -it sharelatex bash

# 进入texlive默认安装目录
$ cd /usr/local/texlive


# 下载并运行升级脚本
$ wget http://mirror.ctan.org/systems/texlive/tlnet/update-tlmgr-latest.sh
$ sh update-tlmgr-latest.sh -- --upgrade

# 更换texlive的下载源
$ tlmgr option repository https://mirrors.sustech.edu.cn/CTAN/systems/texlive/tlnet/

# 升级tlmgr
$ tlmgr update --self --all

# 安装完整版texlive(漫长的等待,不要让shell断开)
$ tlmgr install scheme-full

# 推出sharelatex的命令行界面,并重启sharelatex容器
$ exit
$ docker restart sharelatex

# 安装Noto字体(可选)
$ apt install fonts-noto-cjk
|
给overleaf添加中文字体
容器更新CJK
1
2
3
4
5
|
# 进入Docker容器后执行
$ apt update

# 安装CJK字符编码库
$ apt install -y latex-cjk-all texlive-lang-chinese texlive-lang-english
|
先把win的中文字库上传到服务器。Windows系统中C:\Windows\Fonts的字体
然后把字体上传到docker容器里面
1
2
|
root@core-labot:/home/labot# docker cp  Fonts/ 874bd3dd1410:/usr/share/fonts/windows/
Successfully copied 565.5MB to 874bd3dd1410:/usr/share/fonts/windows/
|
进入sharelatex容器中的/usr/share/fonts/windows/目录,进行解压缩并把所有字体移动到/usr/share/fonts/windows/目录下,然后可以删除压缩包和Fonts空文件夹,如:
1
2
3
4
5
6
7
8
|
$docker exec -it sharelatex bin/bash
root@e038eb2407e0:/# cd /usr/share/fonts/windows/
root@e038eb2407e0:/# unzip Fonts.zip
root@e038eb2407e0:/# cd Fonts
root@e038eb2407e0:/# mv * ../
root@e038eb2407e0:/# cd ..
root@e038eb2407e0:/# rm Fonts.zip
root@e038eb2407e0:/# rmdir Fonts
|
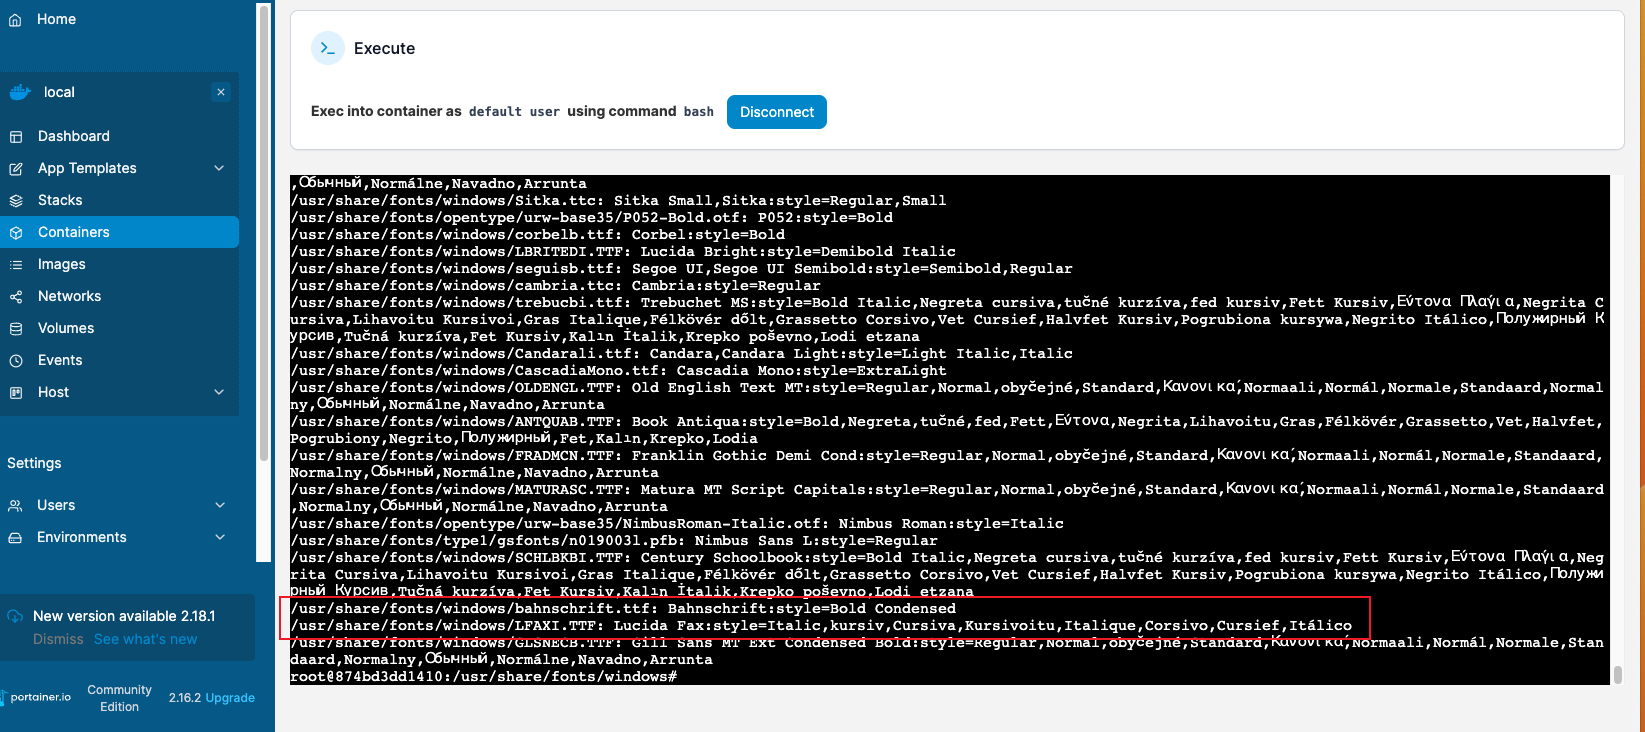
更新字体,并查看:
1
2
|
root@e038eb2407e0:/usr/share/fonts/windows# fc-cache
root@e038eb2407e0:/usr/share/fonts/windows# fc-list
|

xelatex安装
 1
 2
 3
 4
 5
 6
 7
 8
 9
10
|
# 进入Docker容器后执行

# 更新软件列表
$ apt update

# 安装xetex基础环境
$ apt install -y texlive texlive-xetex texlive-latex-base texlive-latex-recommended

# 安装模板相关扩展
$ apt install -y texlive-latex-extra texlive-science texlive-pictures texlive-bibtex-extra
|
启用xelatex
xelatex 和传统的 latex 编译器最大的区别在于字体处理方式不同。传统的 latex 编译器只能使用 .tfm 格式的字体文件,而 xelatex 则可以直接使用系统安装的 TrueType 或 OpenType 字体。
此外,xelatex 也支持更多的 Unicode 字符,因此可以更好地支持多语言排版。
overleaf启用xelatex
1
|
Open Overleaf->Menu->Settings->Compiler=XeLaTex.
|
对于一些常见的中文模板,例如中文期刊写作。可以尝试使用xelatex进行编译
ref
https://sparktour.me/2021/04/02/self-host-overleaf/
ldap接入
该篇文章作者是一位和我运维领域相近的大佬,可以关注学习一下url
wolfbolin的一次尝试

